
Extracting additional data with a results .csv
The Extract page lets you download a variety of data from APLS by uploading a .csv file of results from a search.
You can technically use the Extract page with any
.csvfile containing either transcript file names and time intervals or MatchIDs/URLs. However, the easiest way to get this data for tokens of interest is to export a.csvafter conducting a search.
On this page
What you can do on the Extract page
The Extract page allows you to use the time intervals of your search results to…
- Extract audio files
- Extract Praat TextGrids (or other transcript formats)
- Extract transcript attributes, participant attributes, and layer annotations
- Use a browser-based Praat interface to conduct acoustic analyses
The Extract page also allows you to extract transcript attributes, participant attributes, and layer annotations using the MatchIDs or URLs of your search results.
Layout
The initial Extract page is one of the more straightforward pages in ALPS.
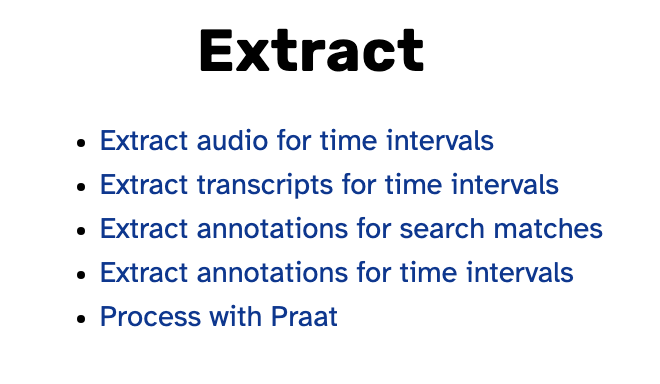
From the initial Extract page, you can selected if you would like to:
- Extract audio for time intervals
- Extract transcripts for time intervals
- Extract annotations for search matches
- Extract annotations for time intervals
- Process with Praat
Extract audio for time intervals
Clicking the link to Extract audio for time intervals will bring you to a page where you can upload the search results .csv you would like to use for extracting data.
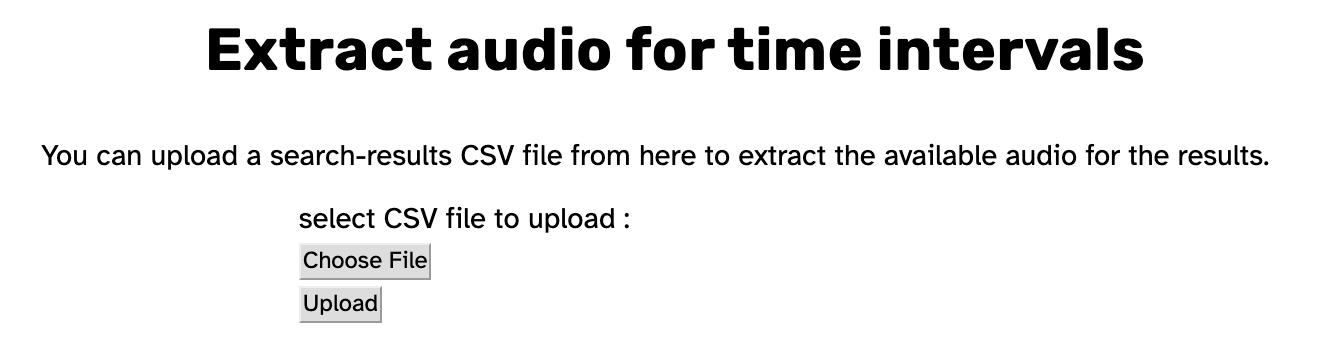
After selecting your .csv with the Choose File button, the button’s text will change to the name of the file you selected. This allows you to verify that the correct file has been selected. If the file is not the one you wanted to select, you can click the button again to select a different file.
After you have selected your desired file, clicking the Upload button will bring you to the settings for Extract audio for time intervals.
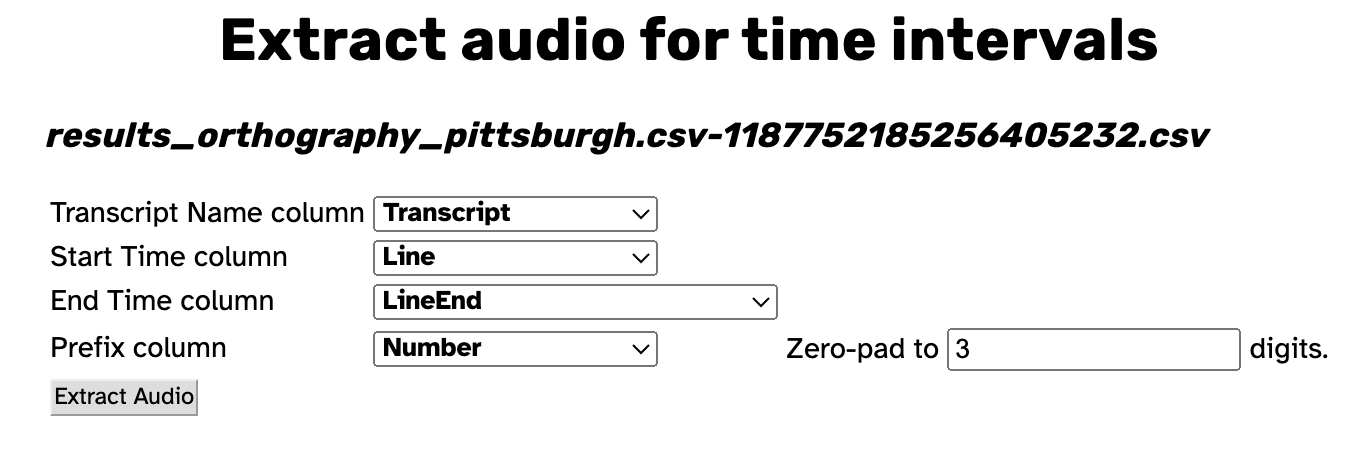
The setting for the “Transcript Name column” should be set to the column in your .csv containing the file names of transcripts. If your .csv has a column named Transcript, APLS will automatically select that column for this setting.
The settings for the “Start Time column” and “End Time column” should be set to the columns in your .csv that specify the time intervals of the audio you’d like to extract. If your .csv has columns named Line and LineEnd, APLS will automatically select those column for these settings.
Other acceptable options for the Start Time column and End Time column settings include Target word start and Target word end, as well as Target segment start and Target segment end.
The “Prefix column” setting allows you to optionally select a column from your .csv that will be appended to the beginning of the extracted audio files. If your .csv has a column named Number, APLS will automatically select that column for this setting. If you do not want prefixed file names, click the drop-drop menu and select [no prefix].
Next to the “Prefix column” setting is the accompanying “Zero-pad to n digits” setting, which lets you specify the zero-padding for your prefixes.
After specifying your desired settings, clicking the Export button will download the extracted audio files in a .zip folder.
Extract transcripts for time intervals
Clicking the link to Extract transcripts for time intervals will bring you to a page where you can upload the search results .csv you would like to use for extracting data.
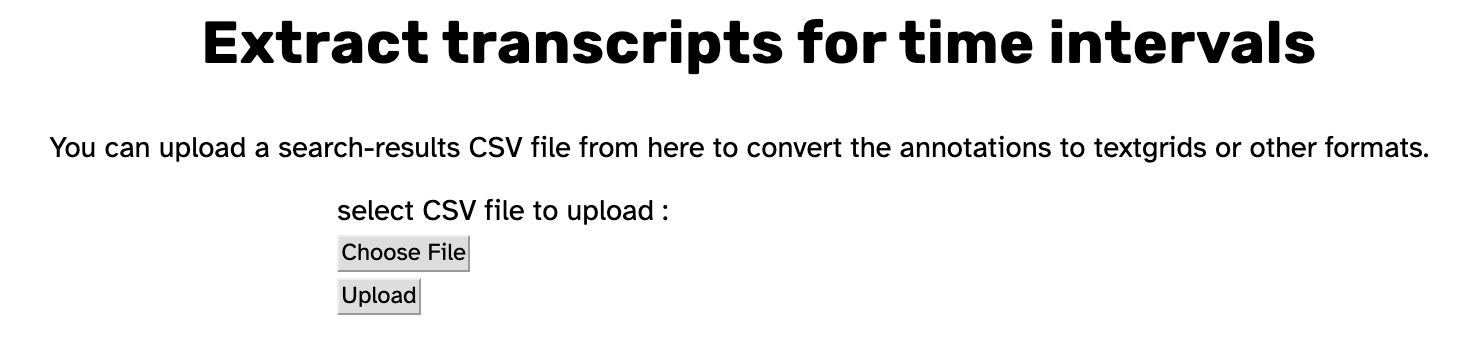
After selecting your .csv with the Choose File button, the button’s text will change to the name of the file you selected. This allows you to verify that the correct file has been selected. If the file is not the one you wanted to select, you can click the button again to select a different file.
After you have selected your desired file, clicking the Upload button will bring you to the settings for Extract transcripts for time intervals.
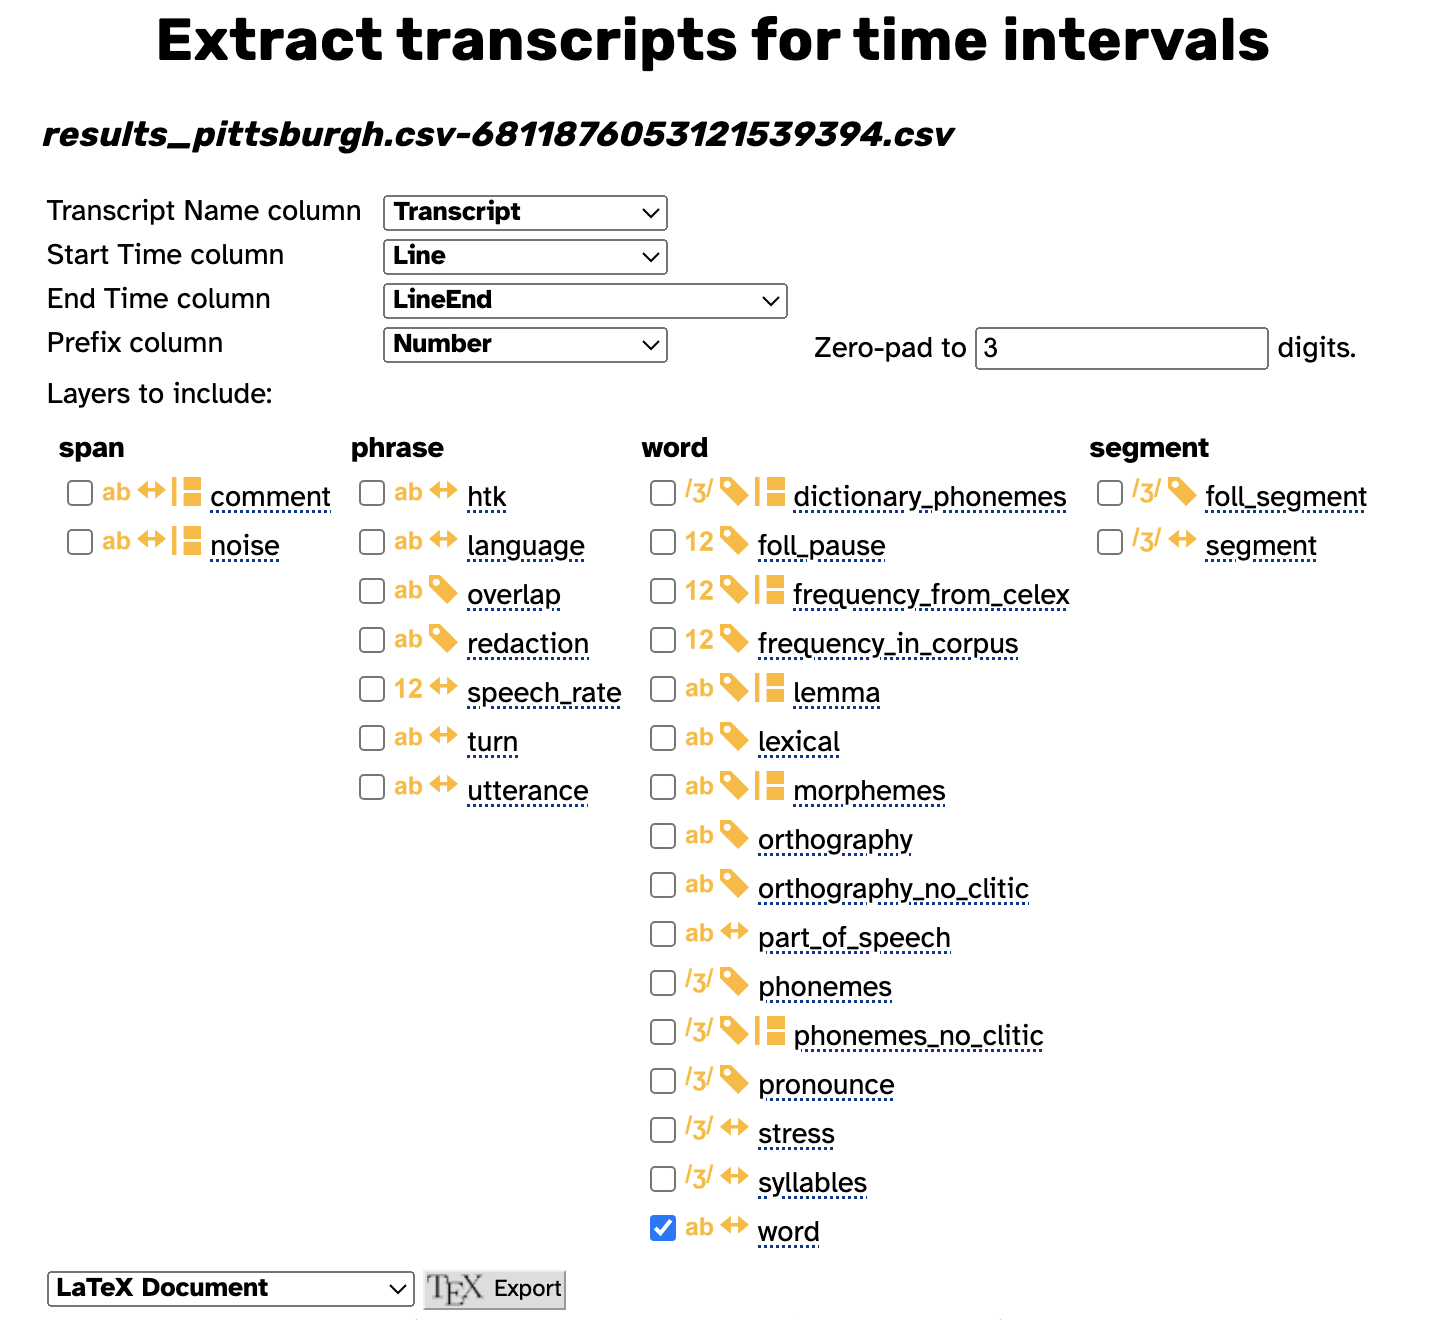
The setting for the “Transcript Name column” should be set to the column in your .csv containing the file names of transcripts. If your .csv has a column named Transcript, APLS will automatically select that column for this setting.
The settings for the “Start Time column” and “End Time column” should be set to the columns in your .csv that specify the time intervals of the transcripts you’d like to extract. If your .csv has columns named Line and LineEnd, APLS will automatically select those column for these settings.
Other acceptable options for the Start Time column and End Time column settings include Target word start and Target word end, as well as Target segment start and Target segment end.
The “Prefix column” setting allows you to optionally select a column from your .csv that will be appended to the beginning of the extracted transcript files. If your .csv has a column named Number, APLS will automatically select that column for this setting. If you do not want prefixed file names, click the drop-drop menu and select [no prefix].
Next to the “Prefix column” setting is the accompanying “Zero-pad to n digits” setting, which lets you specify the zero-padding for your prefixes.
The “Layers to include:” section allows you to select the layers you would like in the exported transcript files. You can hover over each layer to view a tooltip briefly describing that layer. Layers that you have recently used will be selected by default. At least one layer must be selected to be included in the exported transcripts.
The drop-down menu at the bottom of the settings allows you to select the file format for the exported transcripts.
After specifying your desired settings, clicking the Export button will cause a progress bar to appear as APLS processes your export request. Once the export is finished, you will be prompted to save a .zip file containing all of the exported transcripts in your selected file format.
Extract annotations for search matches
Clicking the link to Extract annotations for search matches will bring you to a page where you can upload the search results .csv you would like to use for extracting data.
After selecting your .csv with the Choose File button, the button’s text will change to the name of the file you selected. This allows you to verify that the correct file has been selected. If the file is not the one you wanted to select, you can click the button again to select a different file.
After you have selected your desired file, clicking the Upload button will bring you to the settings for Extract annotations for search matches.
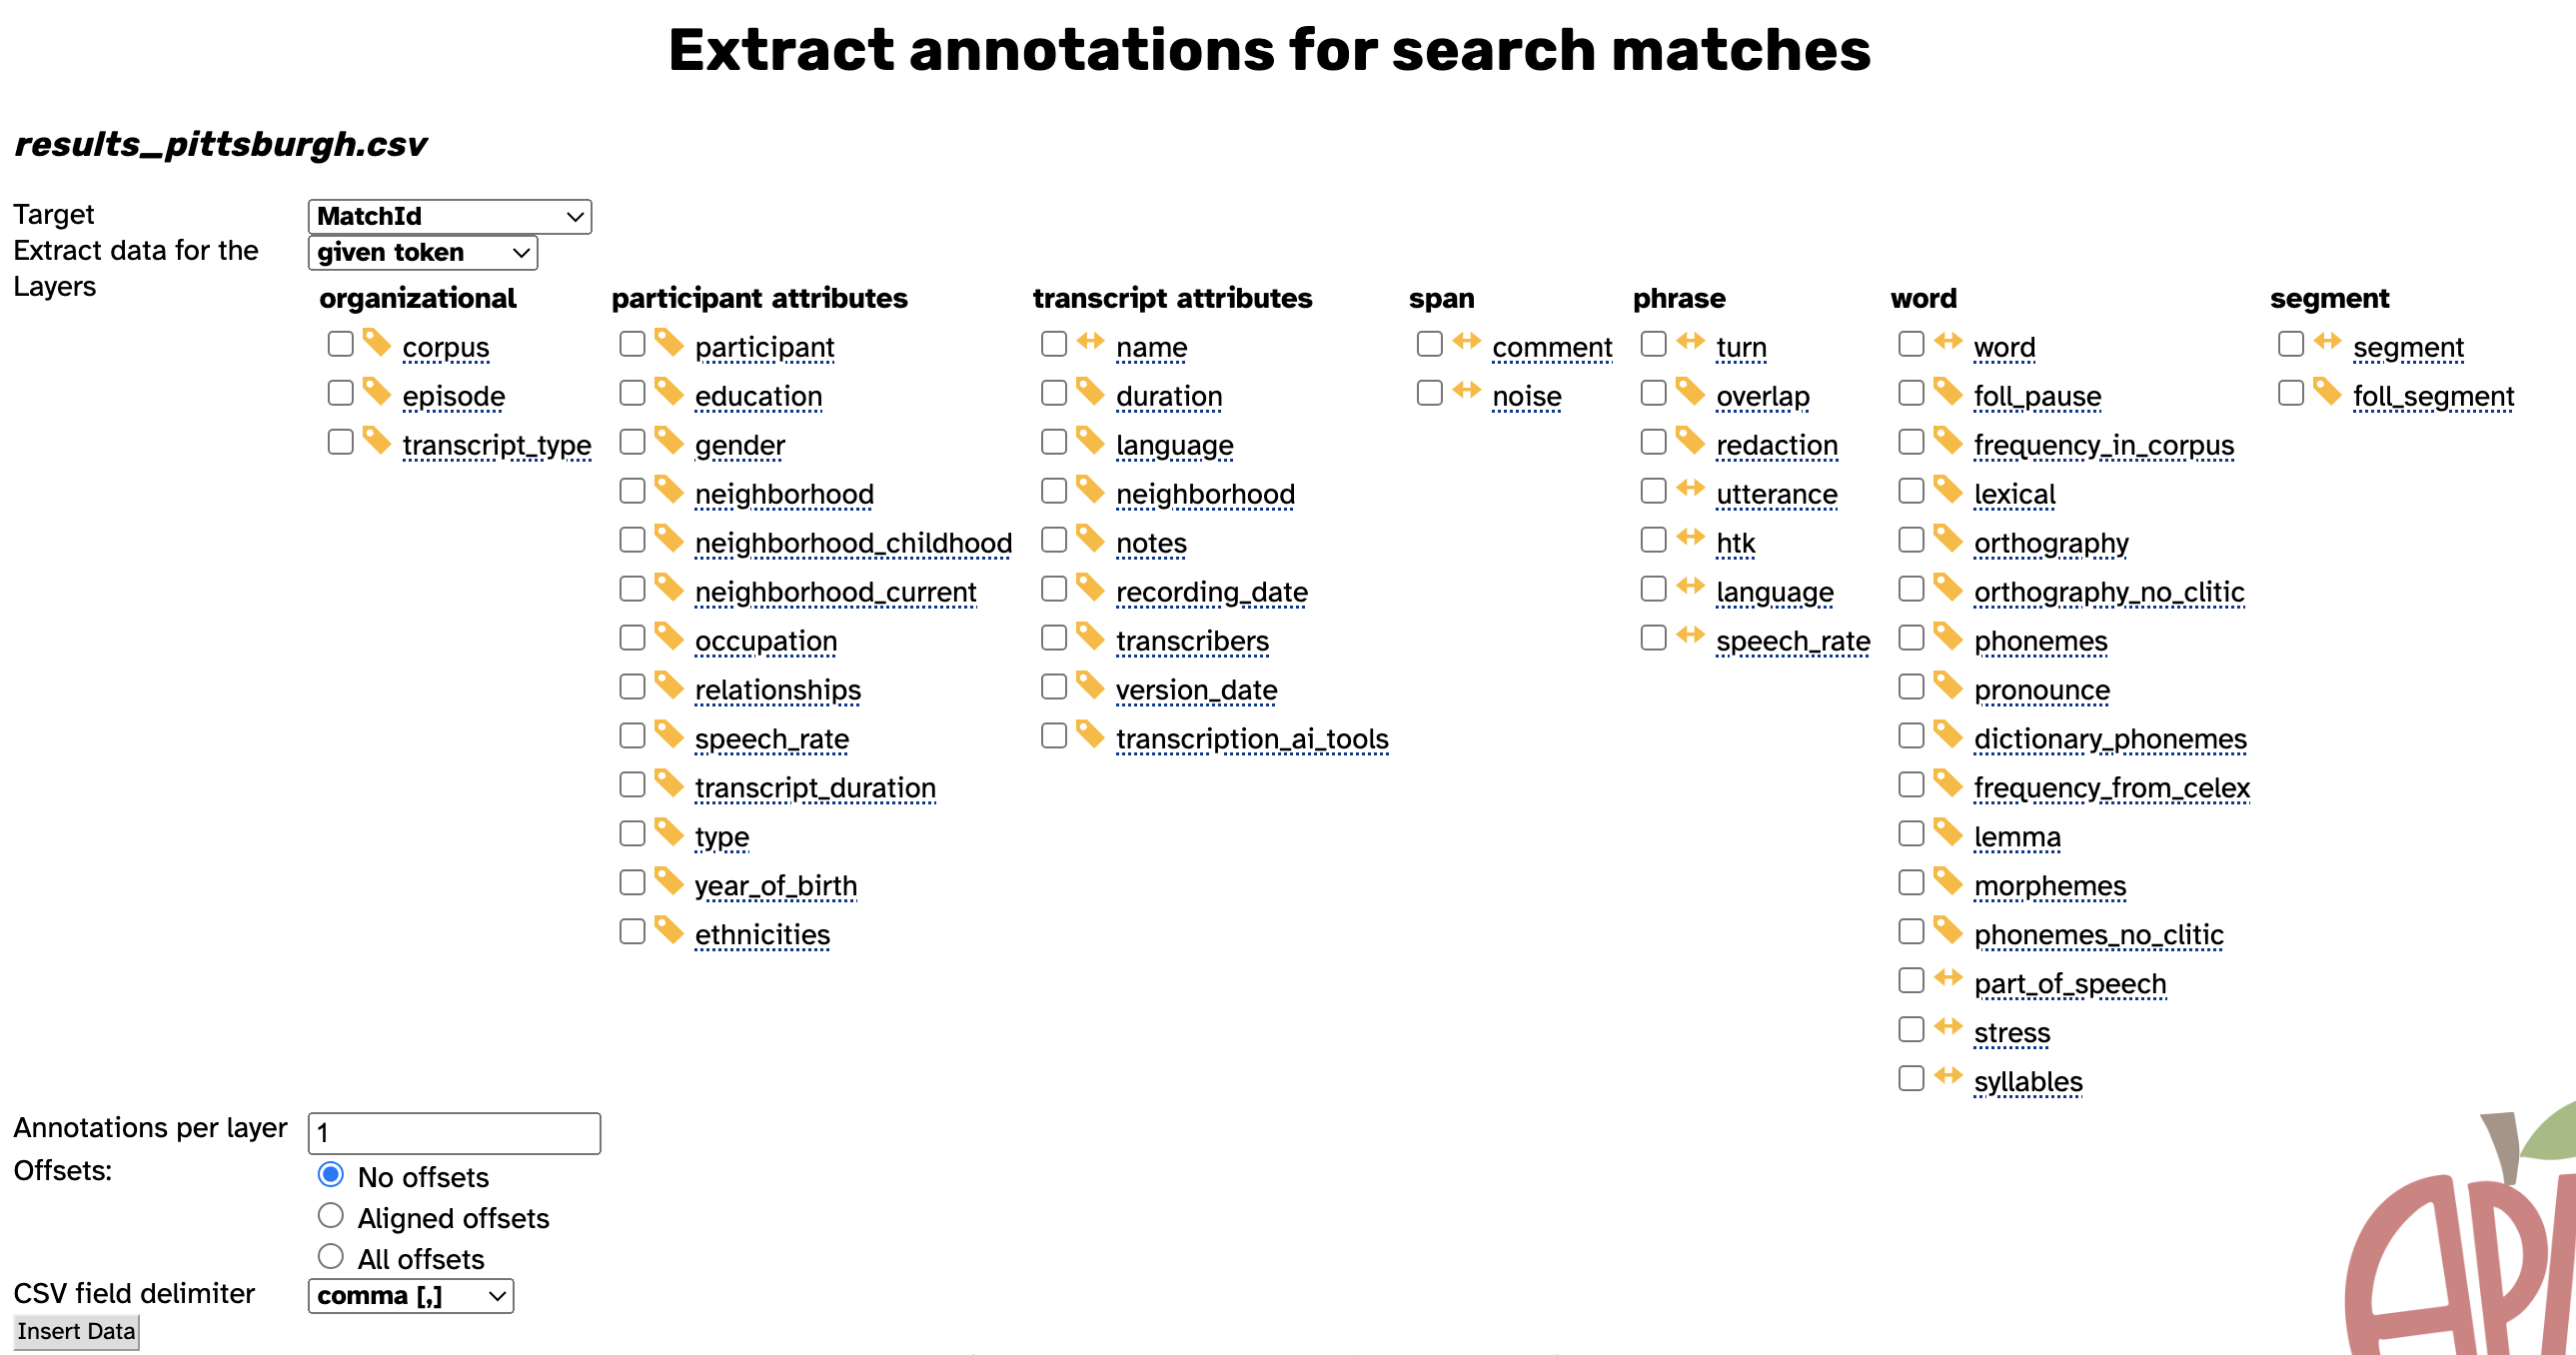
The setting for the “Target” should be set to the column in your .csv containing either the MatchIDs or URLs of your search results. If your .csv has a column named MatchID, APLS will automatically select that column for this setting.
The drop-down menu after “Extract data for the” allows to select if you want annotations about the matches in your search results (given token), the tokens directly before your matches (previous token), or the tokens directly after your matches (next token).
The “Layers” section allows you to select the layers you would like to include in the exported .csv file. You can hover over each layer to view a tooltip briefly describing that layer. At least one layer must be selected to be included in the exported .csv.
The “Annotations per layer” setting allows you to select the number of annotation columns to be included in the .csv for each selected layer. For example, setting this to 1 will cause the .csv to add one column containing the first available annotation for each selected layer. If there are empty columns in the .csv, that means that the selected layer did not contain enough annotations to fill all the columns.
The “Annotations per layer” setting is similar to selecting the number of annotations to include in the CSV Export on the Search results page. However, the “Annotations per layer” setting will apply to all of the layers you have selected.
The “Offsets” setting lets you select whether or not the exported .csv will contain start and end times for the annotation labels. The default option is No offsets and will cause the .csv to include annotation labels but not start and end times for the labels. The Aligned offsets option will include start and end times only for annotations that have been force-aligned. The All offsets option will include start and end times for all annotations, even ones that have not been force-aligned.
The “CSV field delimiter” setting allows to select if exported .csv file should be comma-separated, semicolon-separated, or tab-separated. This setting will automatically set itself to the same delimiter used in your uploaded file.
After specifying your desired settings, clicking the Insert Data button will prompt you to download the exported .csv file. This .csv will contain all the columns of your original uploaded .csv, with additional columns that contain annotations from your selected layers.
Extract annotations for time intervals
Clicking the link to Extract annotations for time intervals will bring you to a page where you can upload the search results .csv you would like to use for extracting data.
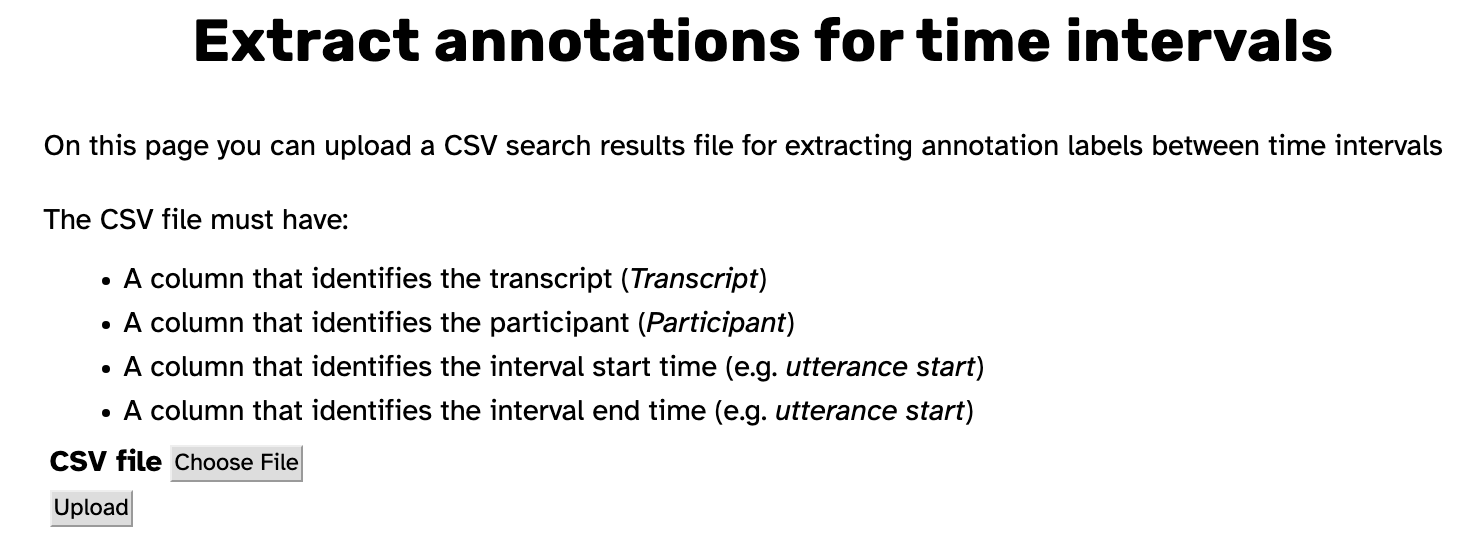
After selecting your .csv with the Choose File button, the button’s text will change to the name of the file you selected. This allows you to verify that the correct file has been selected. If the file is not the one you wanted to select, you can click the button again to select a different file.
After you have selected your desired file, clicking the Upload button will bring you to the settings for Extract annotations for time intervals.
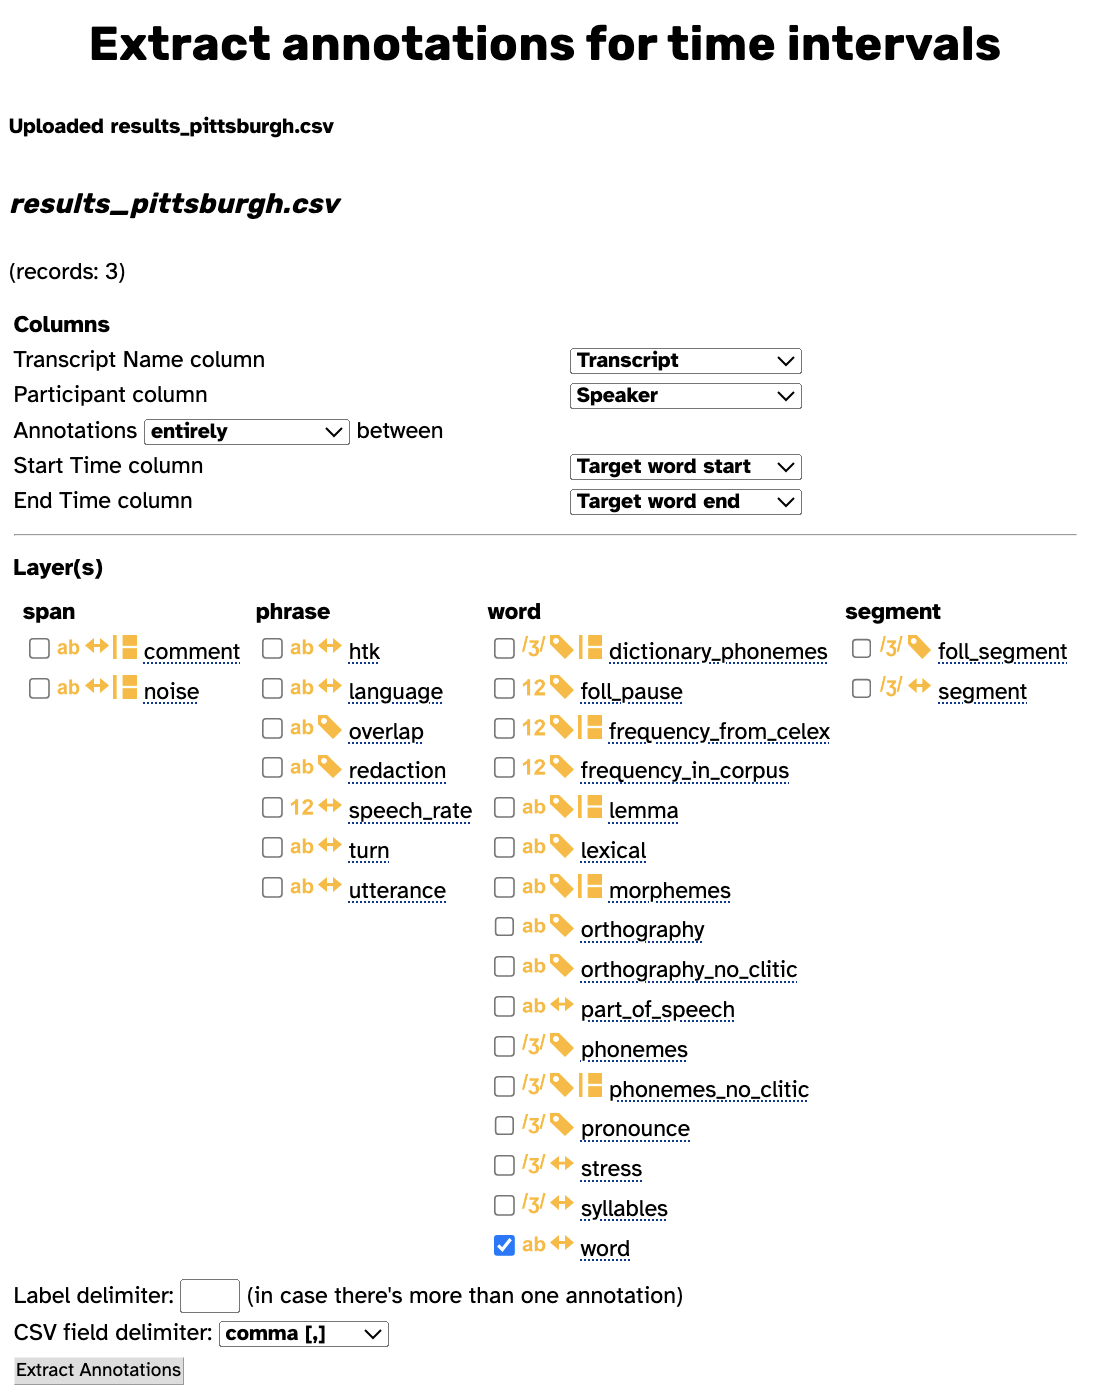
The setting for the “Transcript Name column” should be set to the column in your .csv containing the file names of transcripts. If your .csv has a column named Transcript, APLS will automatically select that column for this setting.
The setting for the “Participant column” is optional. If you set this to a column containing participant codes, then only annotations for those participants will be extracted. If you select no column for this setting, then annotations for all speakers in your time intervals will be extracted. If your .csv has a column named Speaker, APLS will automatically select that column for this setting.
The “Annotations” setting lets you select whether the annotations must be completely within your time intervals or if the annotations can extend beyond your time intervals. The entirely between option makes it so that the start time and end time of the extracted annotations must be within your time intervals. The at least partially between option makes it so that the start time or end time of the extracted annotations can be outside your time intervals, as long as the annotation is at least partially within your time intervals.
The settings for the “Start Time column” and “End Time column” should be set to the columns in your .csv that specify the time intervals of the audio you’d like to extract. If your .csv has columns named Target word start and Target word end, APLS will automatically select those column for these settings.
The “Layer(s)” section allows you to select the layers you would like to include in the exported .csv file. You can hover over each layer to view a tooltip briefly describing that layer. At least one layer must be selected to be included in the exported .csv.
The “Label delimiter” setting lets you specify a delimiter to be used when there are multiple annotations that occur in the same layer during your time intervals. Extract annotations for time intervals concatenates multiple annotations in a layer into a single layer column in the resulting .csv. By default, this is set to be a single space.
The “CSV field delimiter” setting allows to select if exported .csv file should be comma-separated, semicolon-separated, or tab-separated. This setting will automatically set itself to the same delimiter used in your uploaded file.
After specifying your desired settings, clicking the Extract Annotations button will prompt you to download the exported .csv file. This .csv will contain all the columns of your original uploaded .csv, with additional columns added that contain annotations from your selected layers.