
Exporting data
After you’ve explored APLS, conducted a search, and found data you’re interested in, the next thing you’ll probably want to do is export that data out of the corpus for further analysis.
This page is meant to help you understand what you can export and how you can export it after you’ve conducted a search or have a search results .csv file. If you’re unfamiliar with searching APLS, you should start with the Searching the corpus documentation and return here after you’ve completed a search.
On this page
Pages that can export data
This documentation page focuses on the Search results page, but there are other pages in APLS that let you export data as well. These pages and the data that they export are:
- Participants page
- Lets you export participant attribute data
- Transcripts page
- Lets you export entire transcripts and transcript attribute data.
- Individual Transcript pages
- Lets you export selected layers from individual transcripts
- Extract page
- Lets you upload a search results
.csvfile to extract additional information about your search result matches
- Lets you upload a search results
Search results page
After conducting a search using the Search page, you will be presented with a page of results for every match in APLS. Before diving into the export options of the Search results page, we will cover the layout of the results page.
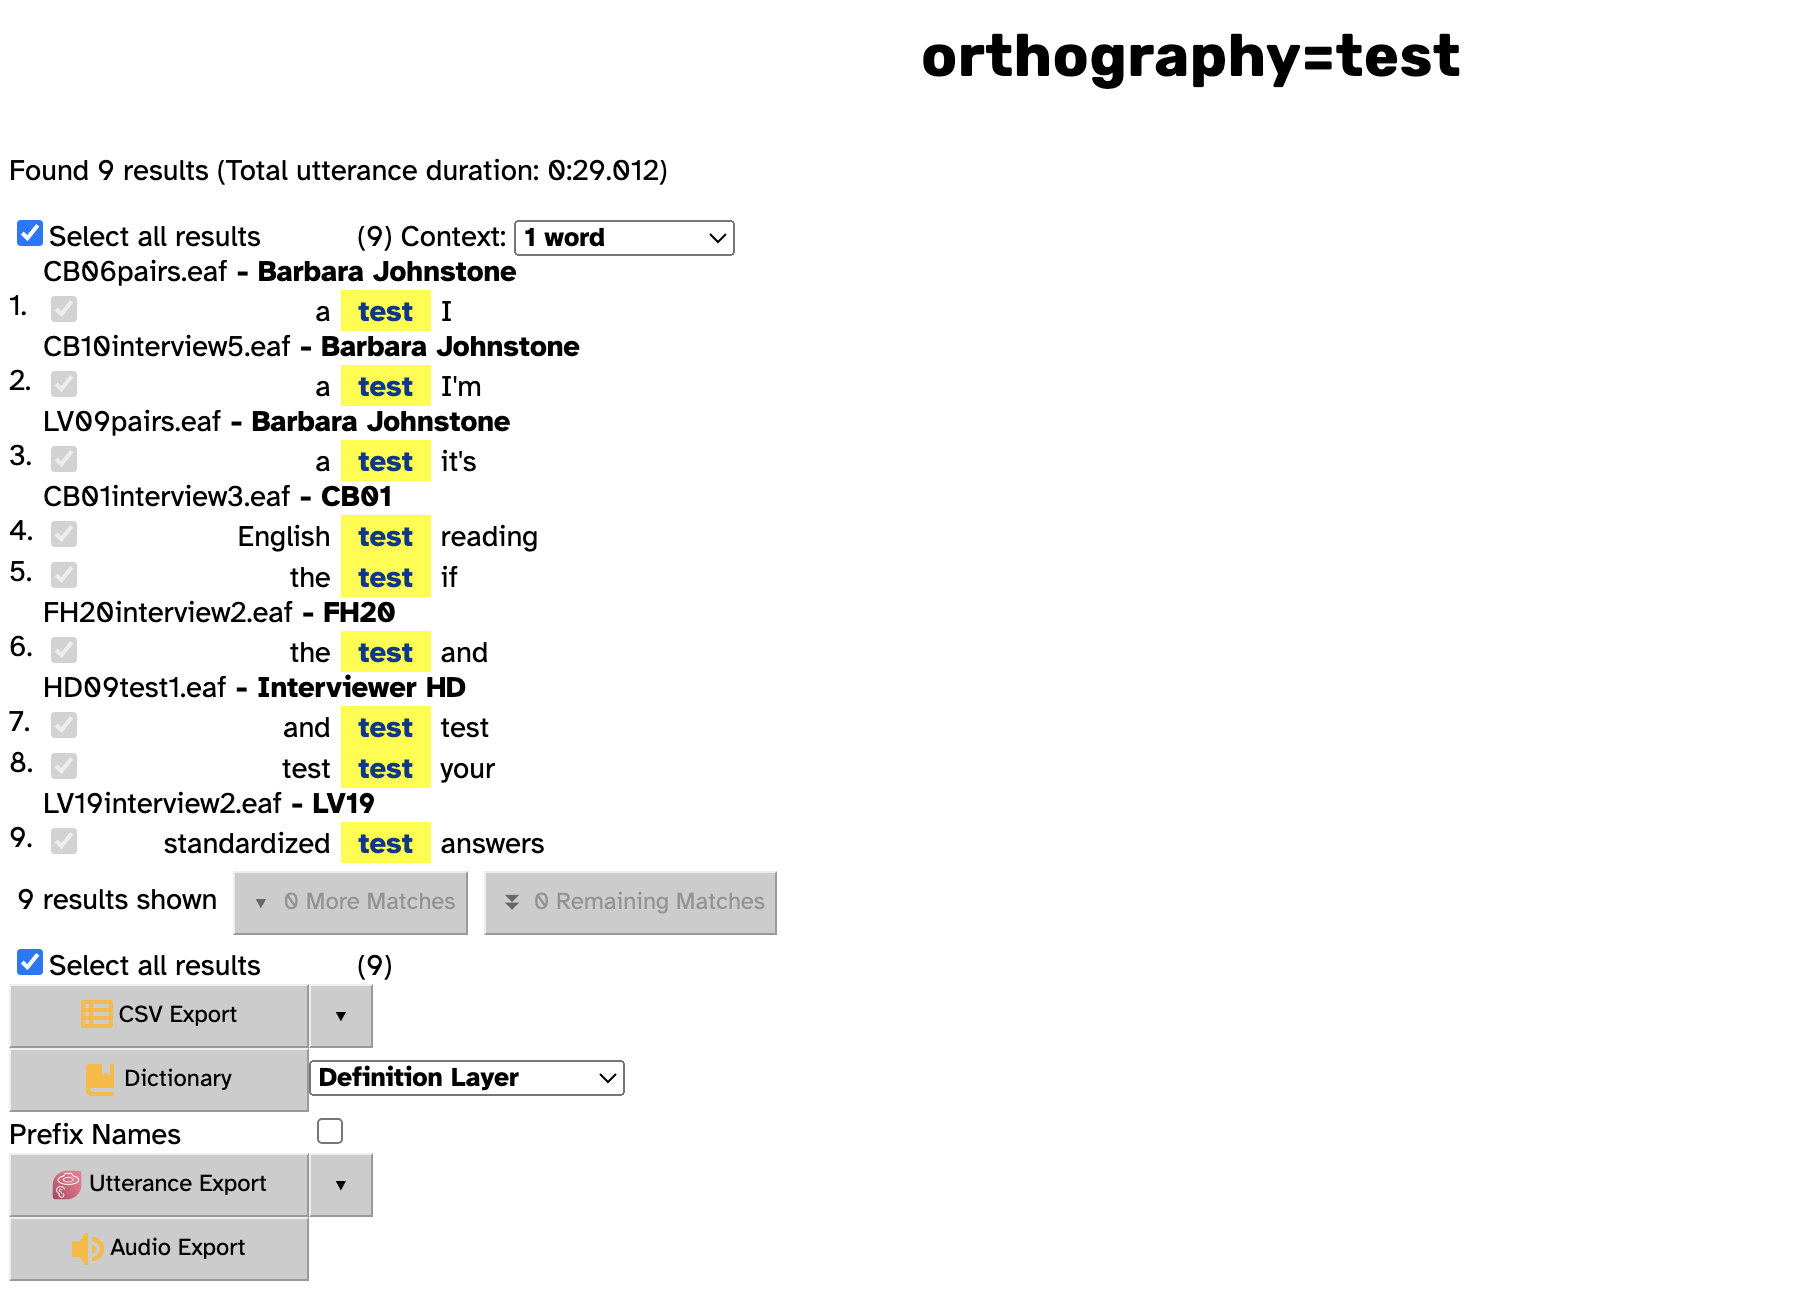
The header at the top of the screen displays the search that was conducted. The syntax for these searches is the layer that was searched followed by the pattern that the layer was searched for.
The first piece of information below the search header is the number of match results and the total duration of the utterances containing the matches.
Below the total results information are two options:
- A checkbox to de-select all results (all results are selected by default)
- A drop-down menu allowing you to select how much context to show before/after the match
- The context for a match will never extend beyond the utterance that contains the match. For example, if a match occurs at the end of an utterance, then the context options will never show words that come after the match (even if there is an utterance after the utterance containing the match).
These options affect what is included in your data export, in addition to affecting what is displayed on the Search results page.
Below these options are rows for each match, which contain a few different pieces of information.
Each match is given a row number to identify that match. Individual matches can be selected using the checkbox next to the match if you de-select the Select all results checkbox.
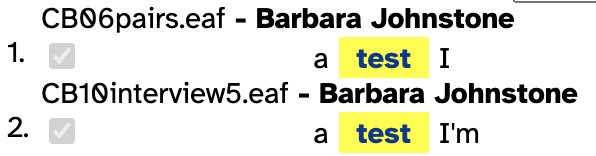
The heading of each row contains the name of the transcript containing the match, followed by the speaker of that utterance. Search results are grouped by transcript first and speaker second.
Below the row heading is the match for the search highlighted in yellow, with the surrounding words displayed on both sides of the match (if there are surrounding words to display). Clicking the text of the match will take you directly to the location for that match in the transcript that contains it.
If you search has more than 20 matches, the Search results page will initially only display the first 20 matches. You can display more results by clicking the n More Matches or n Remaining Matches buttons at the bottom of the results list.
Exporting data from the Search results page
Once you have selected the match results and amount of context you’re interested in, you can export your results as 4 different types of data:
.csv- Dictionary (
.txt) - Utterance
- Audio
CSV Export
Clicking the CSV Export button will download the selected results as a .csv file.
Certain information about the results will be included in the .csv by default. Clicking the ▼ button next to CSV Export allows you to select what data you would like included in the exported .csv file. You can add metadata information, participant and transcript attributes, and layer annotations by clicking the checkbox for the data you would like to include.
The Fields: column is unique to the Search page CSV Export, and it allows you to include information about your search and the relative location for where your search matches were found. Database title, Search name, Match ID, and URL are always included in the exported .csv file and cannot be toggled off.
The participant attributes, transcript attributes, and layers are described on their respective field guide pages. You can also hover over the names of each checkbox to make a brief tooltip description appear.
Layers that have sub-interval alignments (shown with the ![]() icon) or vertical peers (shown with the
icon) or vertical peers (shown with the ![]() icon) will also display numeric boxes when you select them. This box allows you to choose the number of related annotations to include.
icon) will also display numeric boxes when you select them. This box allows you to choose the number of related annotations to include.
For layers with vertical peers ![]() , the additional annotations will be annotations that occupy an identical timespan if there are any. If there are less vertical peers in the layer for the match than the number specified in the numeric box, then the
, the additional annotations will be annotations that occupy an identical timespan if there are any. If there are less vertical peers in the layer for the match than the number specified in the numeric box, then the .csv will still contain the number of columns you specified but the columns will be empty.
- Go to the Search page.
- Enter
polishinto the orthography input field.- Click the Search button.
- Click the ▼ button next to CSV Export and select dictionary_phonemes.
- Enter
3into the numeric field for dictionary_phonemes.- Click the CSV Export button and download the
.csv.
- If you view the “Target dictionary_phonemes” columns of the
.csv, you will see that there are entries in the first 2 columns but the third column is empty. This is because the dictionary_phonemes layer only has two vertical peer annotations for the word “polish”.
For layers with sub-interval alignment ![]() , the additional annotations will be the other sub-interval annotations for that word if there are any. If there are less sub-interval annotations in the layer for the match than the number specified in the numeric box, then the
, the additional annotations will be the other sub-interval annotations for that word if there are any. If there are less sub-interval annotations in the layer for the match than the number specified in the numeric box, then the .csv will still contain the number of columns you specified but the columns will be empty.
- Go to the Search page.
- Enter
wouldn'tinto the orthography input field.- Click the Search button.
- Click the ▼ button next to CSV Export and select part_of_speech.
- Enter
3into the numeric field for part_of_speech.- Click the CSV Export button and download the
.csv.
- If you view the “Target part_of_speech” columns of the
.csv, you will see that there are entries in the first 2 columns but the third column is empty. This is because the part_of_speech layer only has two sub-interval annotations for the word “wouldn’t”.
Sub-interval alignment ![]() layers will also display lock
layers will also display lock ![]() icons on the sides of the annotation count selector. These lock icons let you anchor the data exported for that layer to the start or end of the match target.
icons on the sides of the annotation count selector. These lock icons let you anchor the data exported for that layer to the start or end of the match target.
The lock icons will restrict the exported data to only the annotation at the start or end of the match target.
This means that regardless of the number of annotations specified in the numeric box, using either of the lock icons will cause that layer to only export data for one annotation. Selecting both lock icons will cause that layer to export data only for annotations that do not have any horizontal peers.
Dictionary Export
Clicking the Dictionary Export button will download information about all the results of the search as a .txt file.
The default option for Dictionary Export is [just orthography, no entries], which creates a .txt file containing the orthography layer spelling for every unique item matched by the search without additional information from other layers.
To find all unique words that follow the word “not” in APLS:
- Go to the Search page.
- Enter
notinto the orthography input field.- Click the
+button on the right side of the input field to make the search one word wider.- Enter
.*into the second orthography input field.- Click the Search button.
- Click the Dictionary Export button and download the
.txtto view the unique matches for the search.
Clicking the ▼ button next to Dictionary Export allows you to select the layer information that you would like to export in the .txt file.
These layer options will include the information that is present for that layer. This means that if there is not any information in the selected layer for your search matches, then the Dictionary Export .txt will not include that match in the file.
To find words that start with “cranberry” and have a custom DISC pronounciation on the pronounce layer:
- Go to the Search page.
- Enter
cranberry.*into the orthography input field.- Click the Search button.
- Click the ▼ button next to Dictionary Export and select pronounce.
- Click the Dictionary Export button and download the
.txtto view the unique matches for the search that have information on the pronounce layer.
- The
.txtfile should not have entries for words like “cranberry” or “cranberry’s” because those words don’t have a custom DISC pronounciation in APLS.
Utterance Export
Clicking the Utterance Export button will download the utterances containing the selected matches in a transcript format of your choice.
The default option for Utterance Export is to export Praat TextGrid’s containing the utterance and word layers. This will export a TextGrid for the utterance of each selected match with tiers for the utterance and word layers.
Clicking the ▼ button next to Utterance Export allows you to select the exported file format, whether prefix names should be added to matches, whether targets should be tagged, and the layers you would like to include.
The export formatted ▼ section of the Viewing a transcript doc page contains more information about the different transcript file types and selecting layers to include in the transcript.
Prefix names
Toggling the Prefix names checkbox on will cause the file names of the exported transcripts to have the match number of each match added to the beginning of the file name.
This option additionally ensures that utterances containing multiple matches will have separate files for each match. When Prefix names is not toggled on, utterances containing multiple matches will only export a single transcript for that utterance.
Tag targets
The Tag targets checkbox is toggled on by default. Tag targets creates an additional “Target” tier in the exported transcript file with intervals identifying the specific match token(s). At least one of the layers in your search pattern must be selected in the “Layers to export” menu for Tag targets to create the additional “Target” tier.
Tag targets only applies to transcript formats that support tiered annotations.
Audio Export
Clicking the Audio Export button will download the utterances containing the selected matches as .wav audio files.
Clicking the ▼ button next to Audio Export allows you to select if the exported audio files should have prefixed names with the Prefix names checkbox.
Toggling the Prefix names checkbox on will cause the audio files to have the match number of each match added to the beginning of the file name. This option additionally ensures that utterances containing multiple matches will have separate files for each match. When Prefix names is not toggled on, utterances containing multiple matches will only export a single audio file for that utterance.